Table of contents


No headings in the article.
Hello learners, the hot topic of every Kubernetes administrator and the concept which helps developers their work easier for N/W configuration, let's talk about service-mesh.
A service mesh is a software infrastructure layer that helps manage communication between different components (or services) of a distributed application. It provides a way to handle network traffic, improve reliability, and add advanced features to the application without directly modifying the individual services.
Imagine you have a complex application made up of multiple services that need to communicate with each other. A service mesh acts as a transparent intermediary between these services, controlling the flow of data and handling tasks such as service discovery, load balancing, and encryption.
In a service mesh, each service is equipped with a sidecar proxy—a separate component that runs alongside the service. These sidecar proxies handle the network communication on behalf of the services. They intercept traffic, apply policies, and enforce rules set by the service mesh.
The service mesh provides a centralized control plane that manages and configures the sidecar proxies. This control plane allows you to implement features like traffic management, observability (monitoring and logging), security, and resilience across all the services in the mesh.
In simpler terms, a service mesh helps make communication between services in a distributed application more reliable, secure, and observable. It takes care of common networking concerns, freeing developers to focus on building their services while still having control and visibility over the overall application behaviour.
Types of service mesh available::
Istio: Istio is an open-source service mesh that is widely used and supported. It was developed in collaboration with Google, IBM, and Lyft. Istio provides advanced traffic management capabilities, security features like authentication and encryption, observability tools for monitoring and tracing, and policy enforcement across services.
Linkerd: Linkerd is another popular open-source service mesh that focuses on simplicity and performance. It is designed to be lightweight and easy to deploy. Linkerd offers features such as service discovery, load balancing, circuit breaking, and metrics collection. It also integrates well with popular container orchestration platforms like Kubernetes.
Consul Connect: Consul is a service mesh and service discovery tool developed by HashiCorp. It provides features like service registration and discovery, distributed key-value store, and security capabilities.
AWS App Mesh: AWS App Mesh is a service mesh offered by Amazon Web Services. It integrates with other AWS services and provides features like traffic management, observability, and security for applications running on the AWS platform.
Azure Service Fabric Mesh: Azure Service Fabric Mesh is a fully managed service mesh offered by Microsoft Azure. It allows developers to build and deploy microservices-based applications and provides features like service discovery, load balancing, and automatic scaling.
In this blog, we will be trying Consul by Hashicorp over your local minikube cluster.
We'll deploy a Consul datacenter onto a minikube cluster. After deploying Consul, we'll interact with Consul using the CLI, UI, and API. Finally, we will deploy two services that use Consul to discover and communicate with each other.
Requirements::
-- Minikube cluster over your local machine.
-- Consul configuration
Minikube installation ::
minikube is local Kubernetes, focusing on making it easy to learn and develop for Kubernetes.
Official Documentation - https://minikube.sigs.k8s.io/docs/start/
Step 1 - Get the package from the above link and install the package,

Step 2 - Start minikube and set the alias (docker services must be up and running),
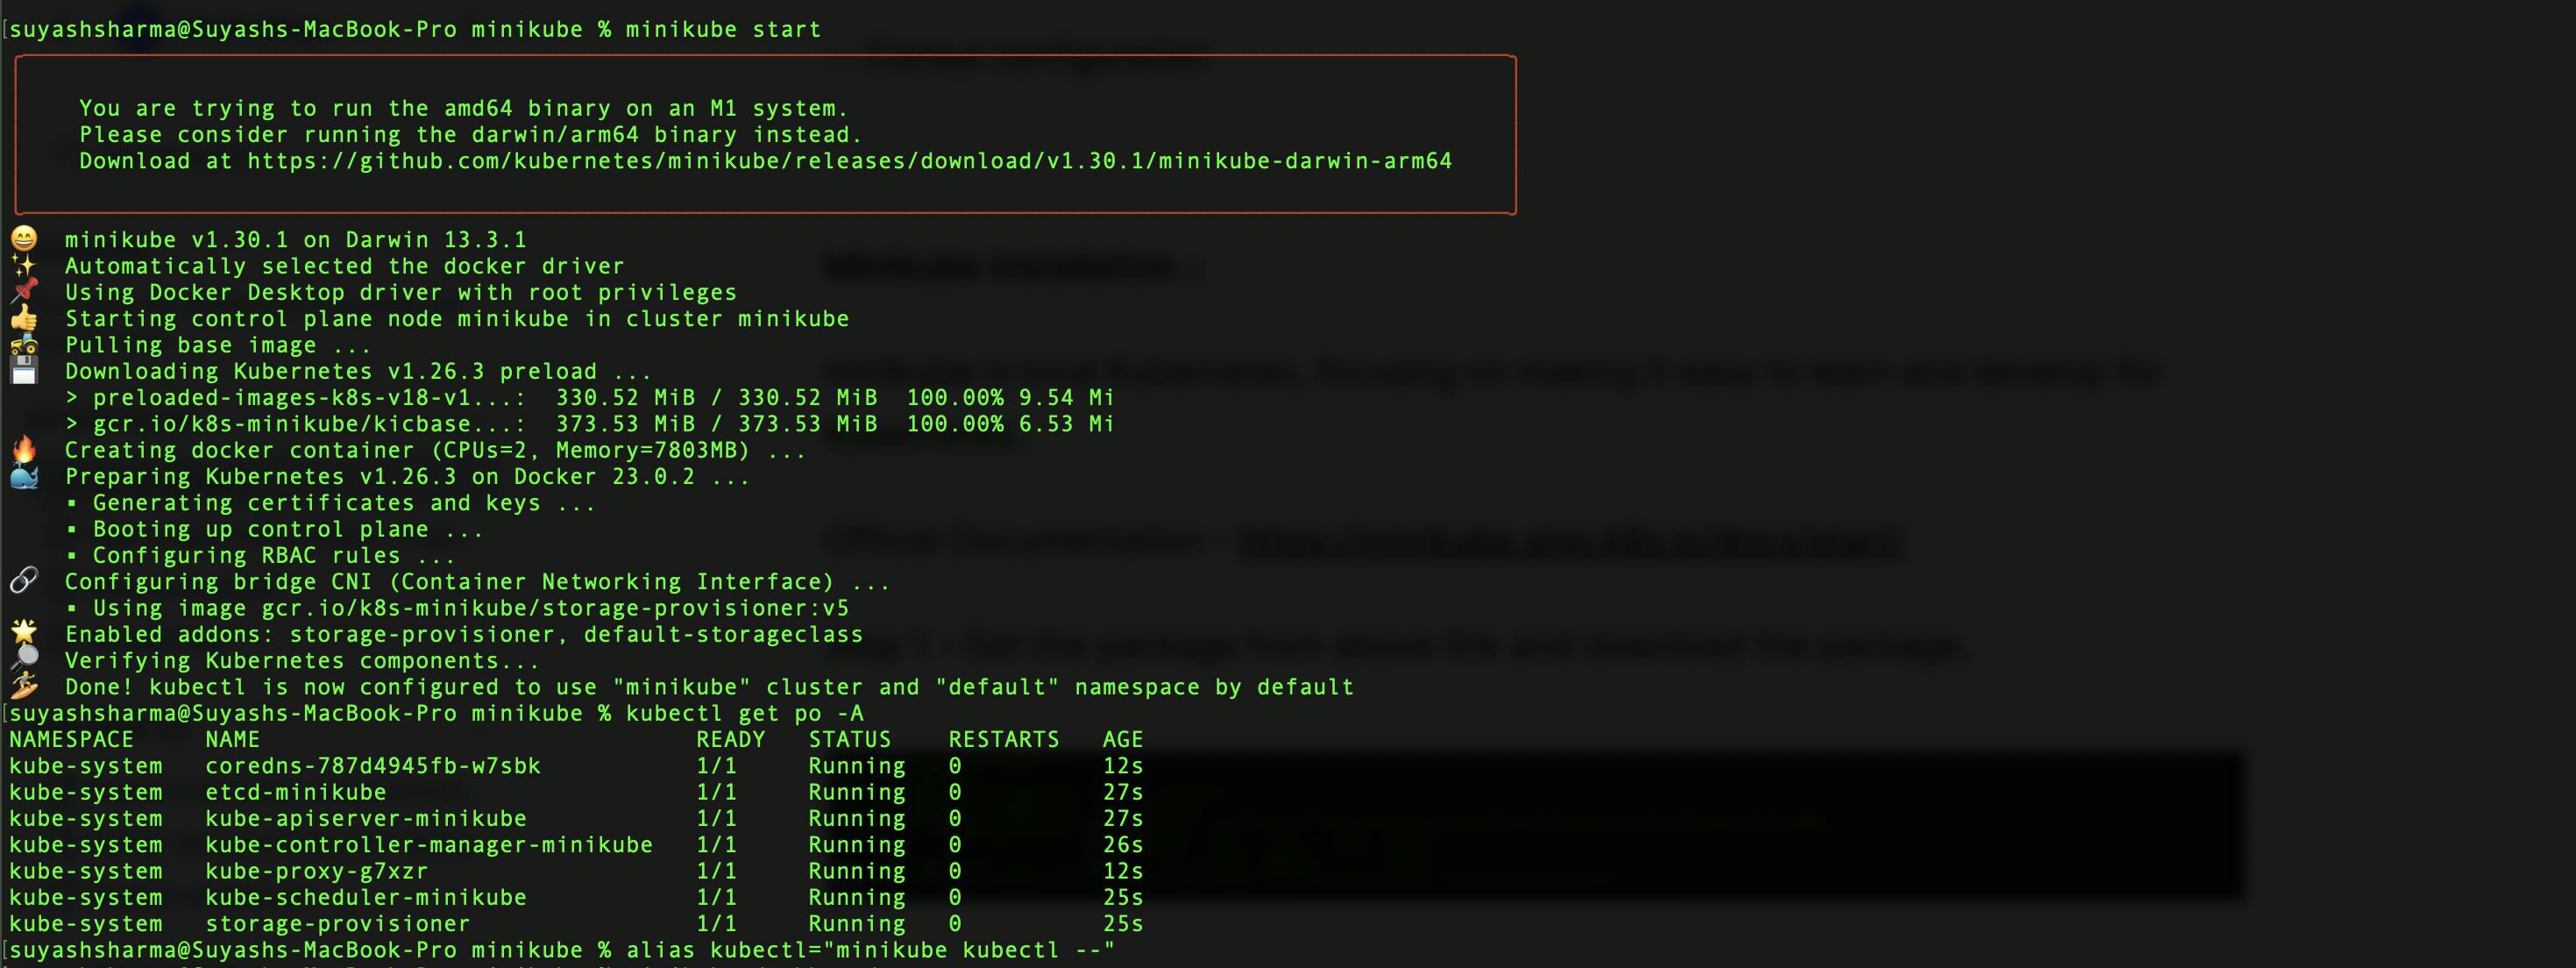
Step 3 - As we check those pods are running, check minikube dashboard by running "minikube dashboard"

This will ensure your minikube is successfully installed,
Consul configuration::
Documentation - https://developer.hashicorp.com/consul/tutorials/kubernetes/kubernetes-minikube
From the below steps, we will create a local Kubernetes cluster with minikube, then deploy a Consul data centre to our minikube cluster with HashiCorp’s official Helm chart or the Consul K8S CLI. After deploying Consul, you will interact with Consul using the CLI, UI, and/or API. You will then deploy two services that use Consul to discover and communicate with each other.
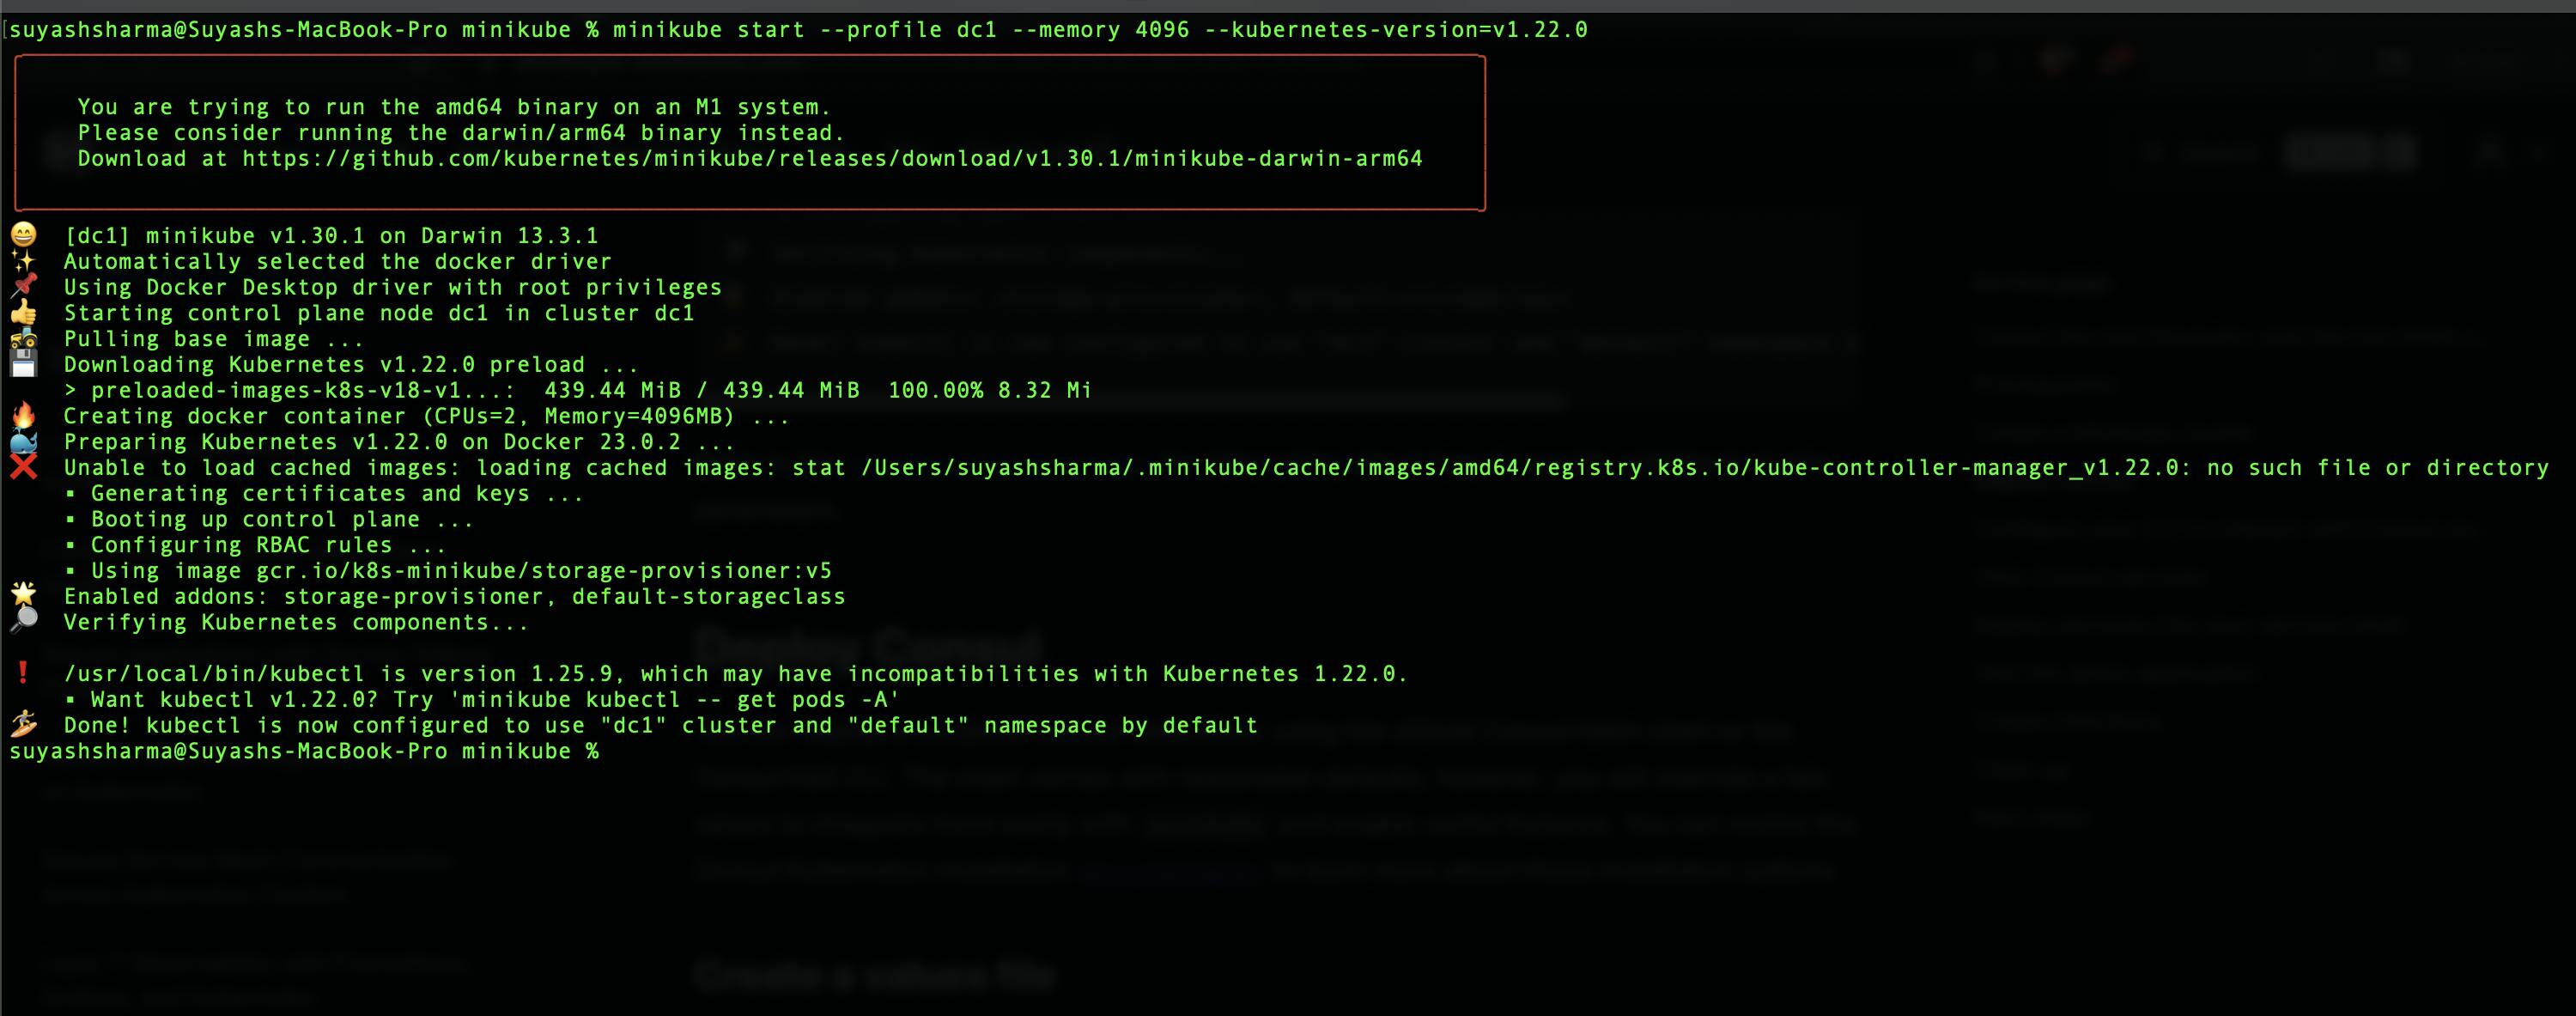
Step 1 : minikube start --profile dc1 --memory 4096 --kubernetes-version=v1.22.0
Step 2: To customize your deployment, create values.yaml file to customization your Consul deployment
values.yaml -https://developer.hashicorp.com/consul/tutorials/kubernetes/kubernetes-minikube#create-a-values-file

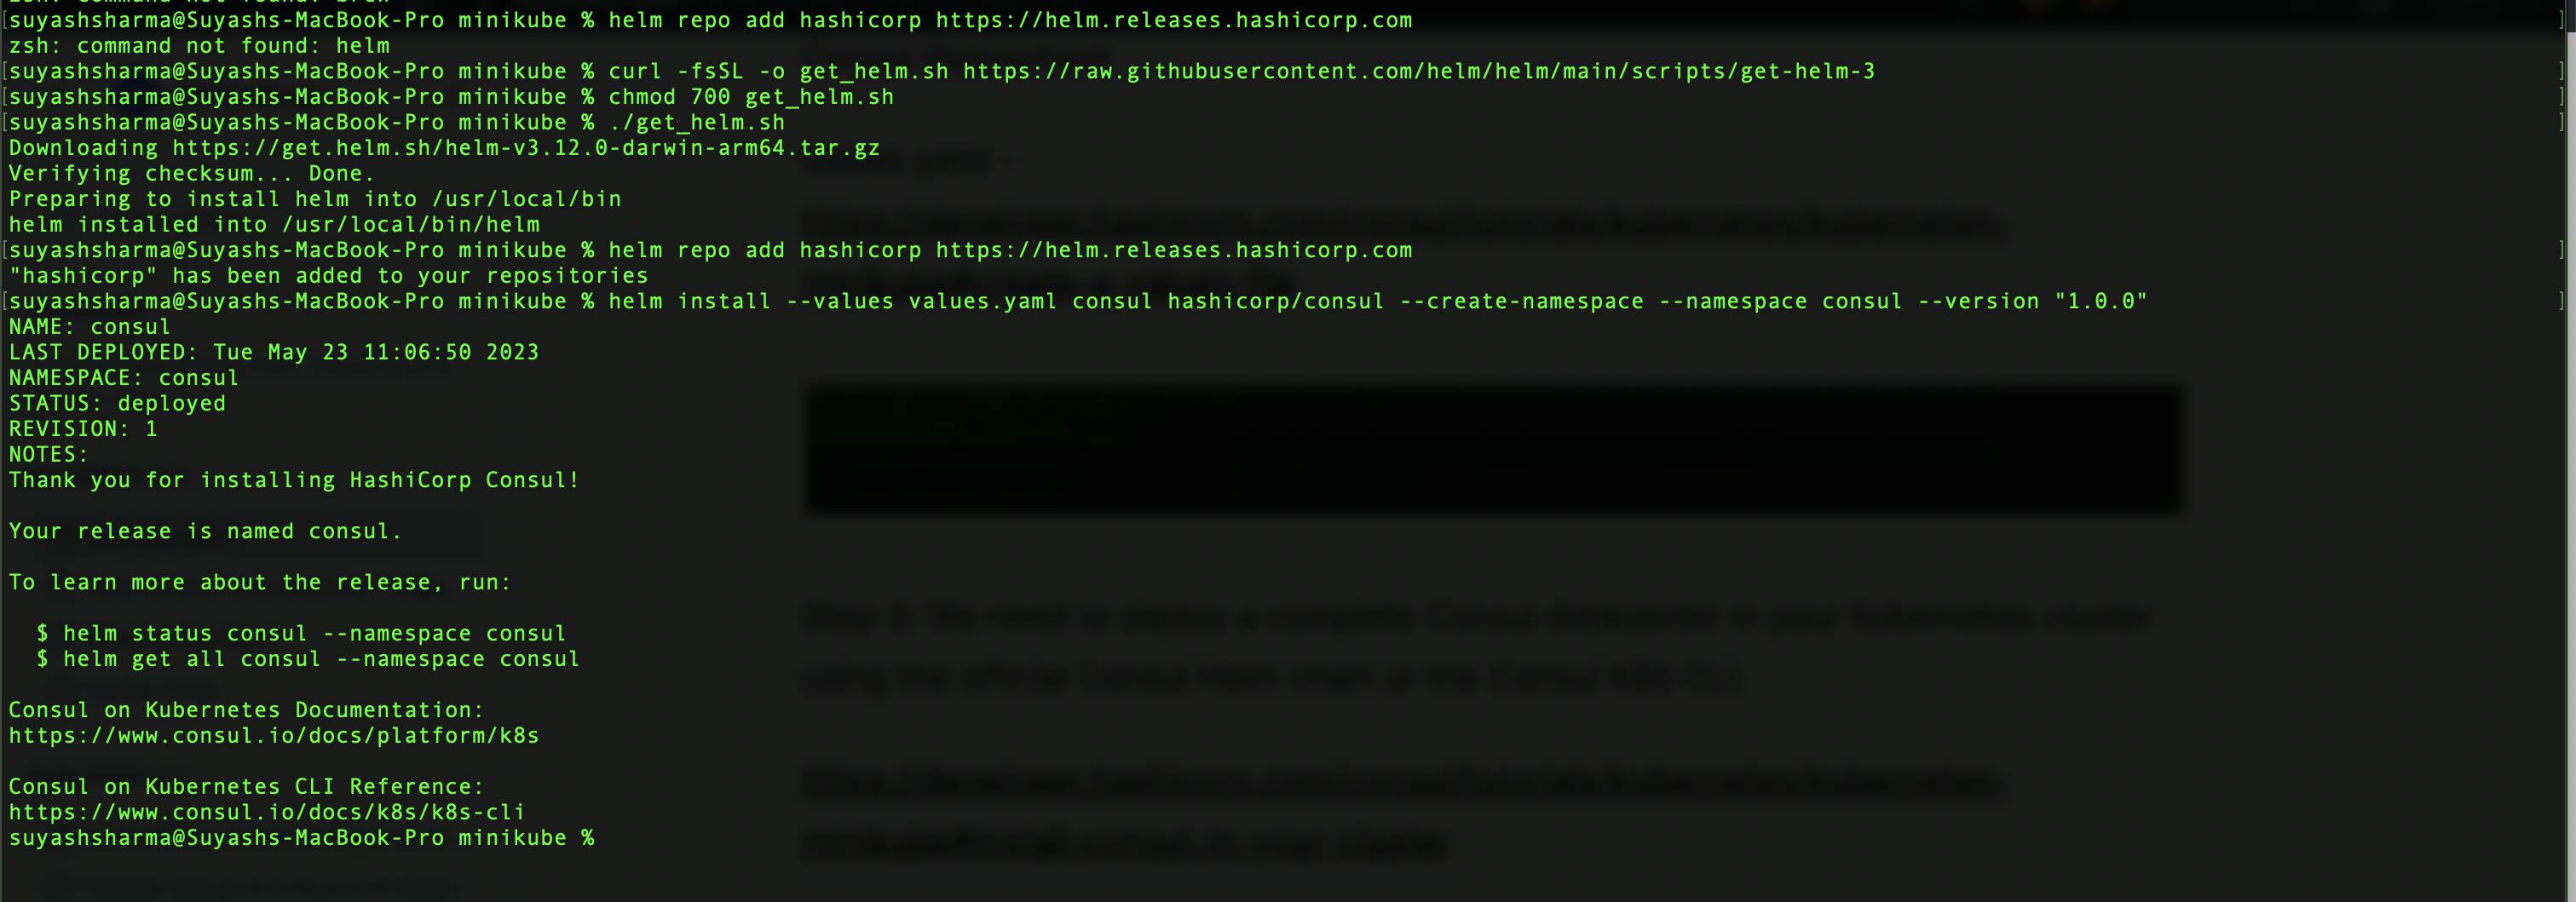
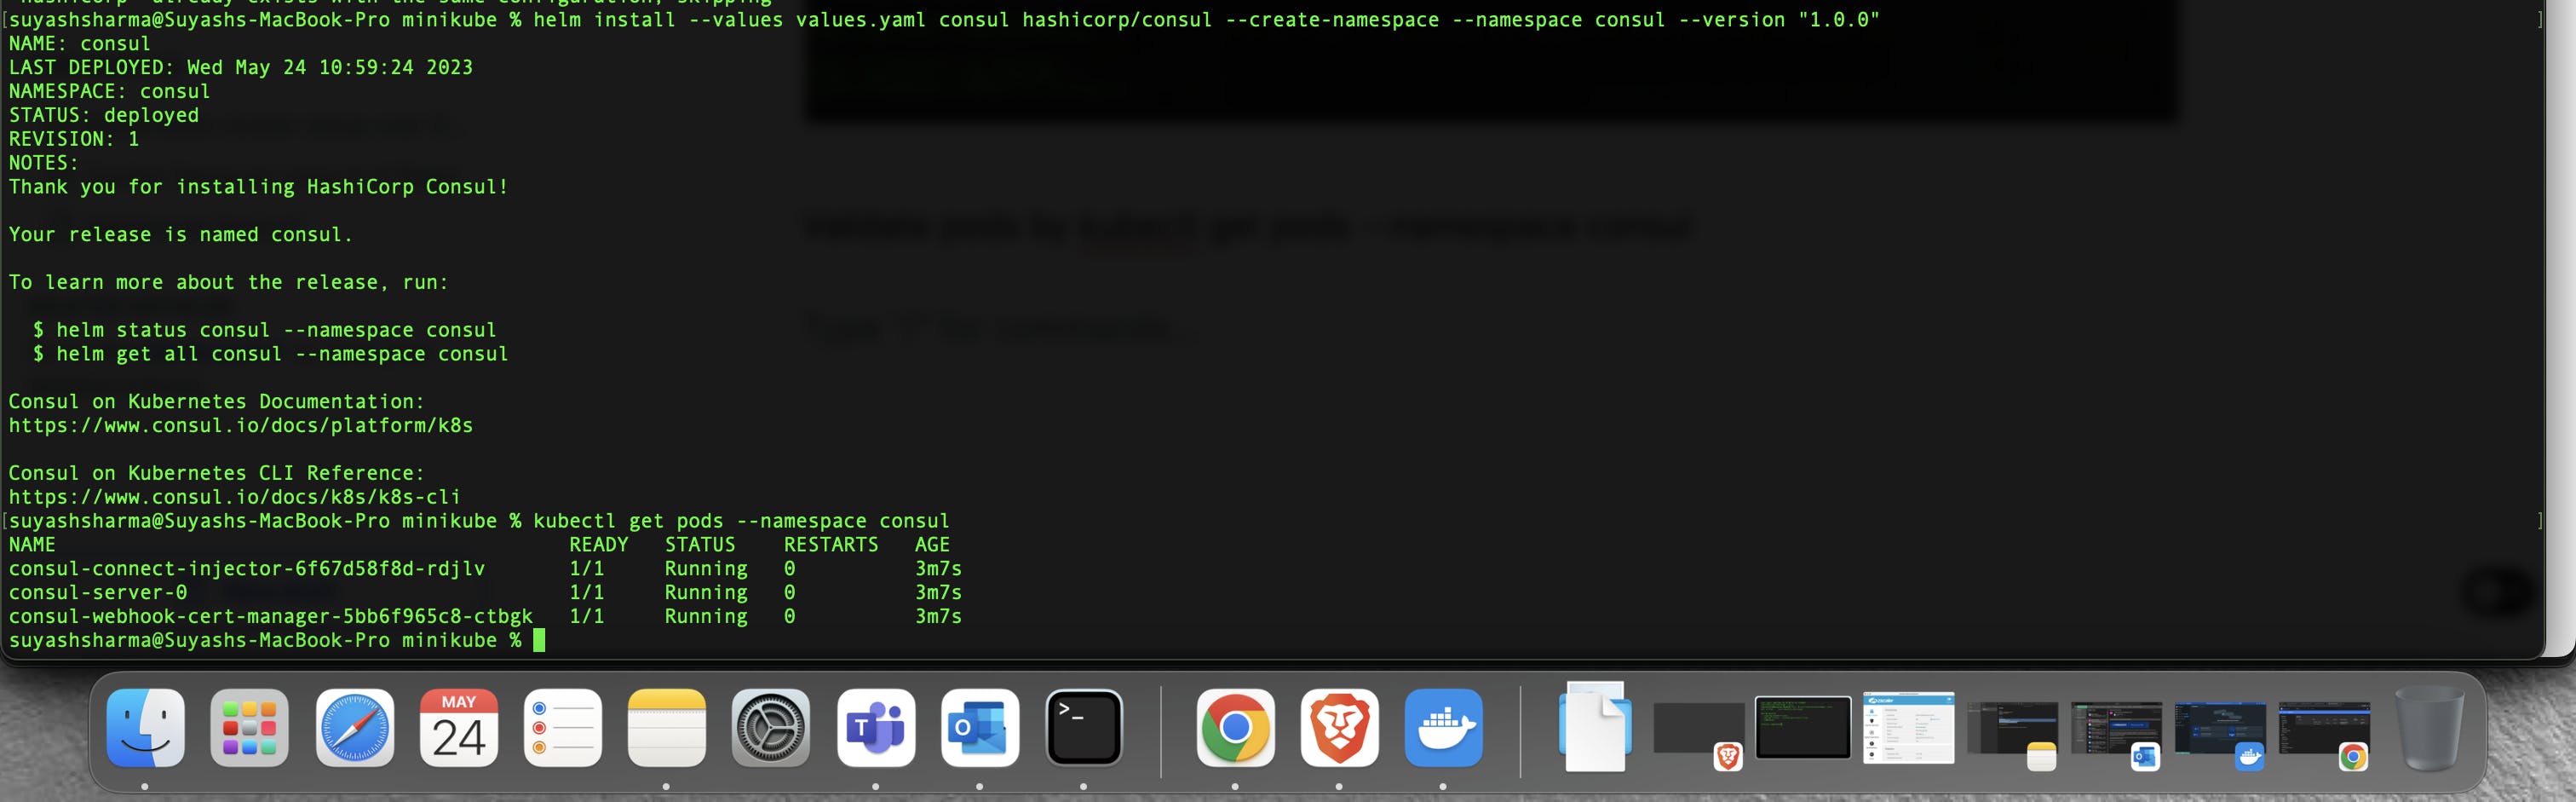
Step 3: We need to deploy a complete Consul data center in your Kubernetes cluster using the official Consul Helm chart or the Consul K8S CLI.
In case of helm install,
$ curl -fsSL -o get_helm.sh https://raw.githubusercontent.com/helm/helm/main/scripts/get-helm-3
$ chmod 700 get_helm.sh
$ ./get_helm.sh
Validate pods by kubectl get pods --namespace consul
Step 4: Configure your CLI to interact with the Consul cluster,
export CONSUL_HTTP_TOKEN=$(kubectl get --namespace consul secrets/consul-bootstrap-acl-token --template={{.data.token}} | base64 -d)
export CONSUL_HTTP_ADDR=https://127.0.0.1:8501
export CONSUL_HTTP_SSL_VERIFY=false

Step 5: We will view your Consul services with the CLI, UI, and/or API to explore the details of your service mesh.
With UI,
echo $CONSUL_HTTP_TOKEN
kubectl port-forward svc/consul-ui --namespace consul 8501:443
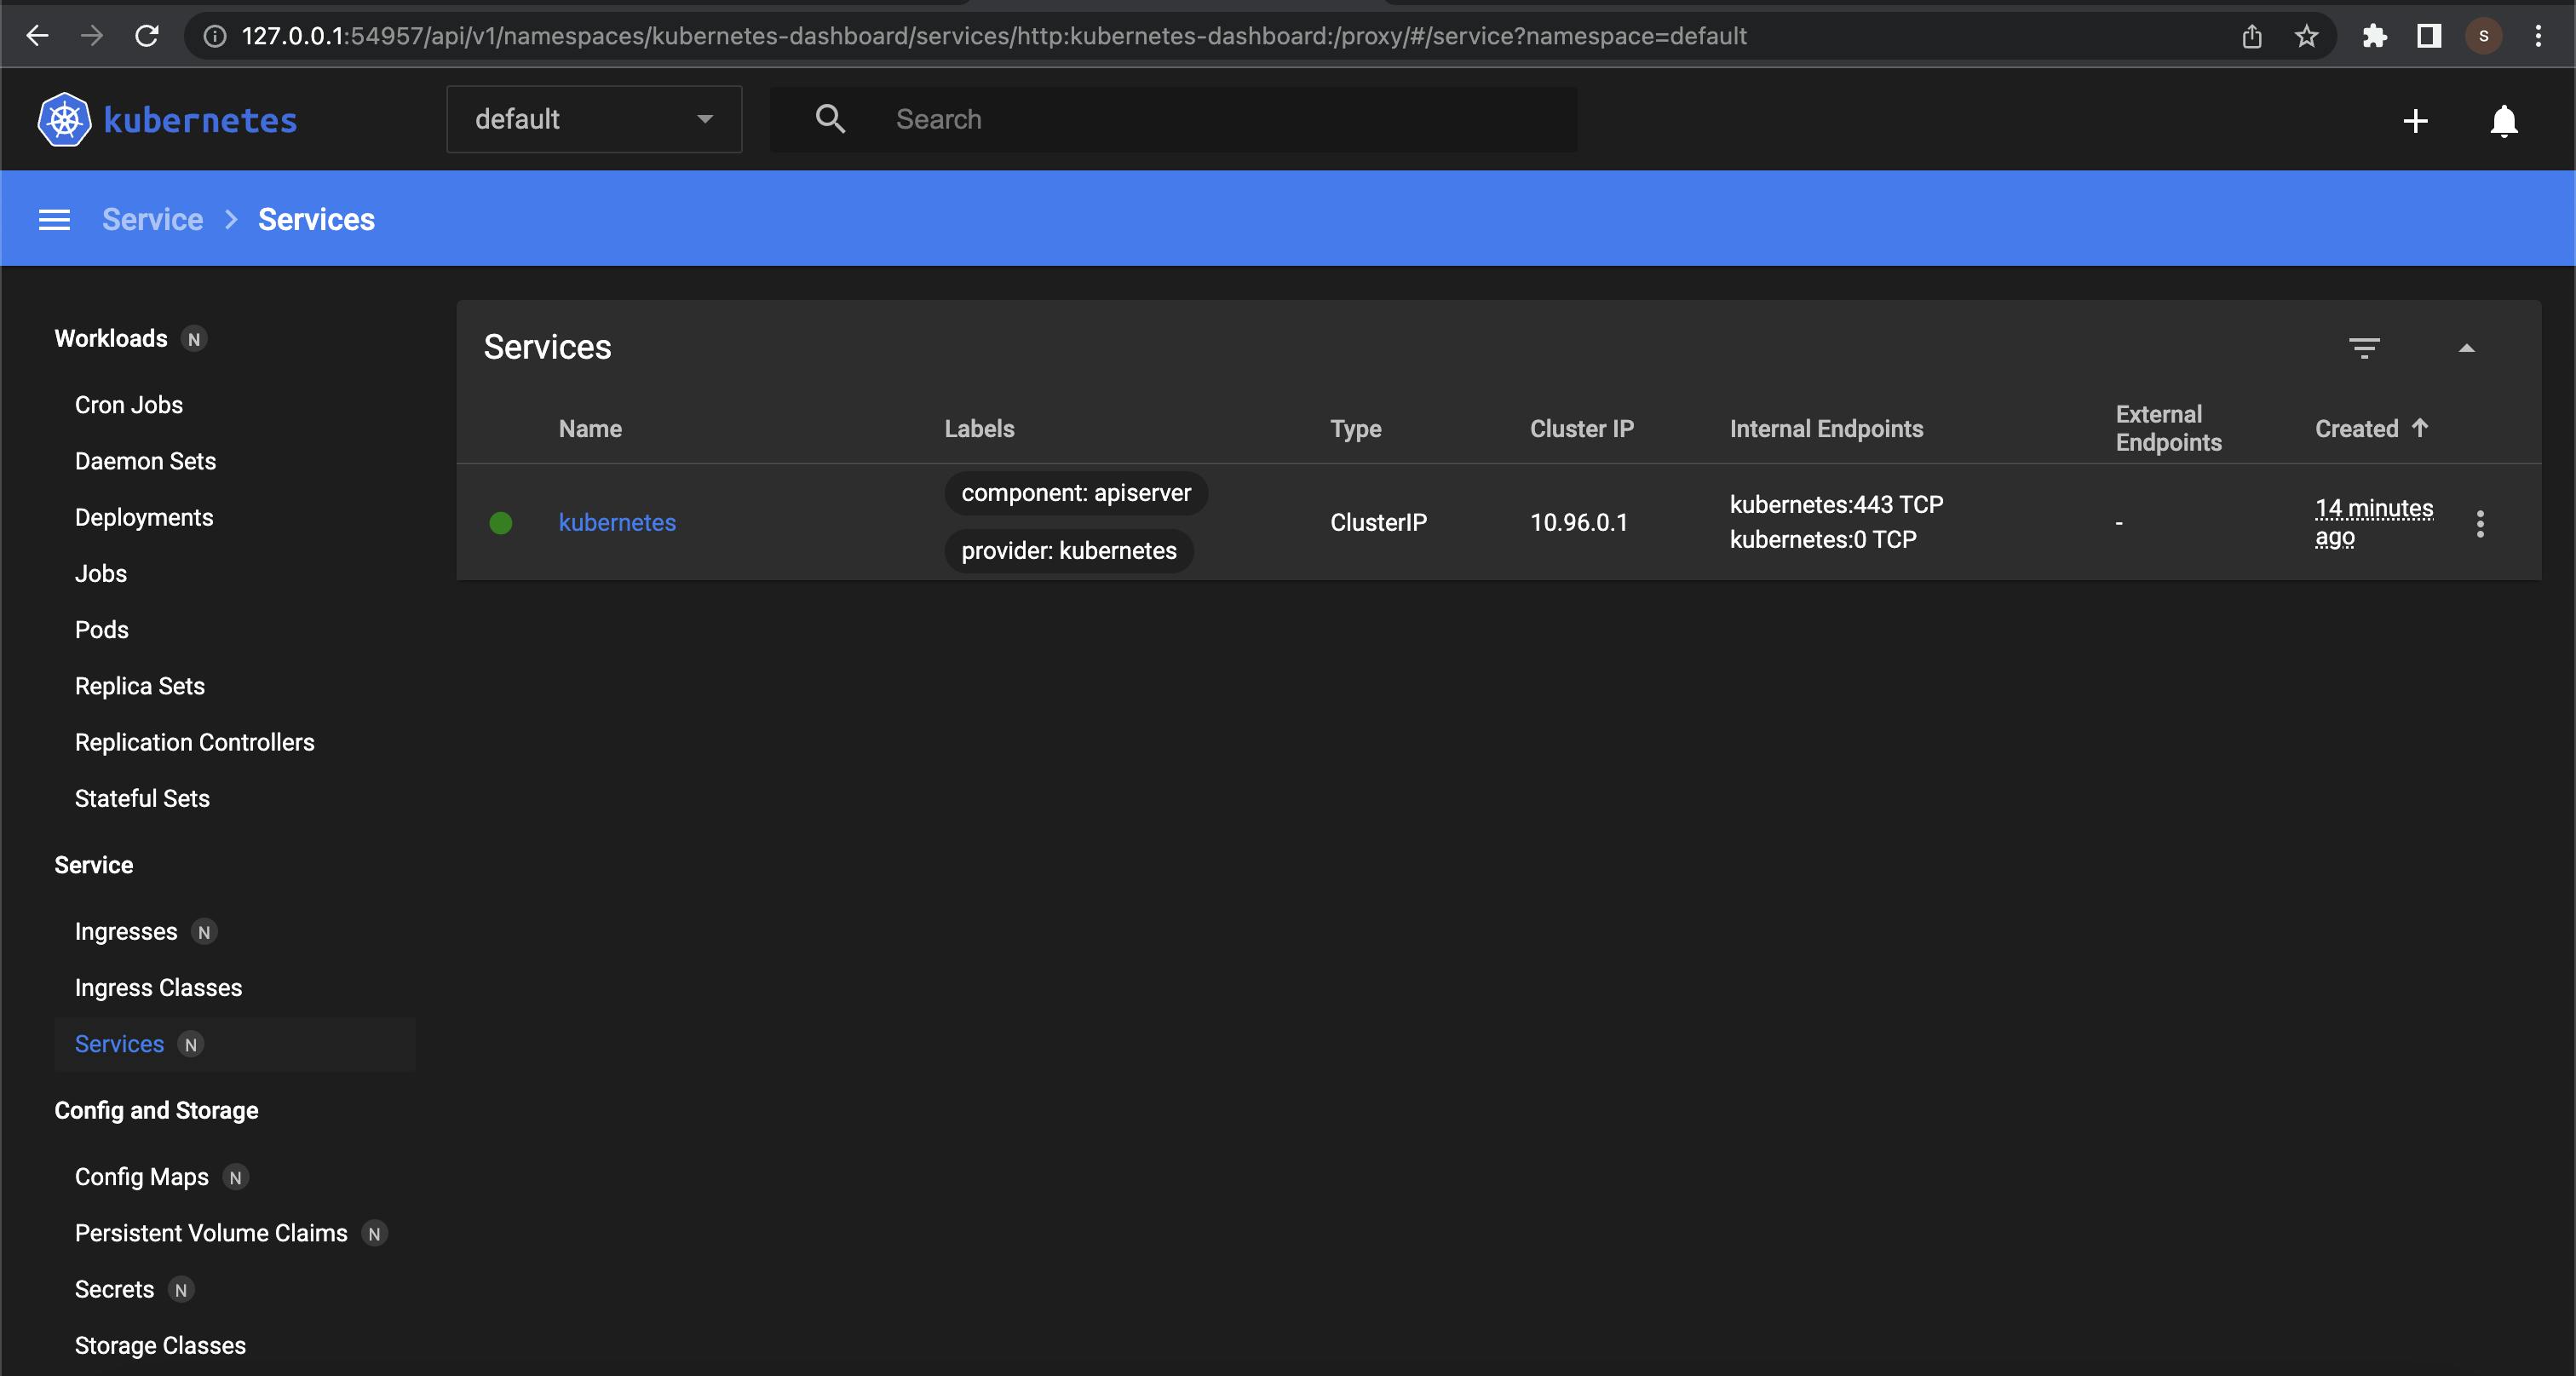
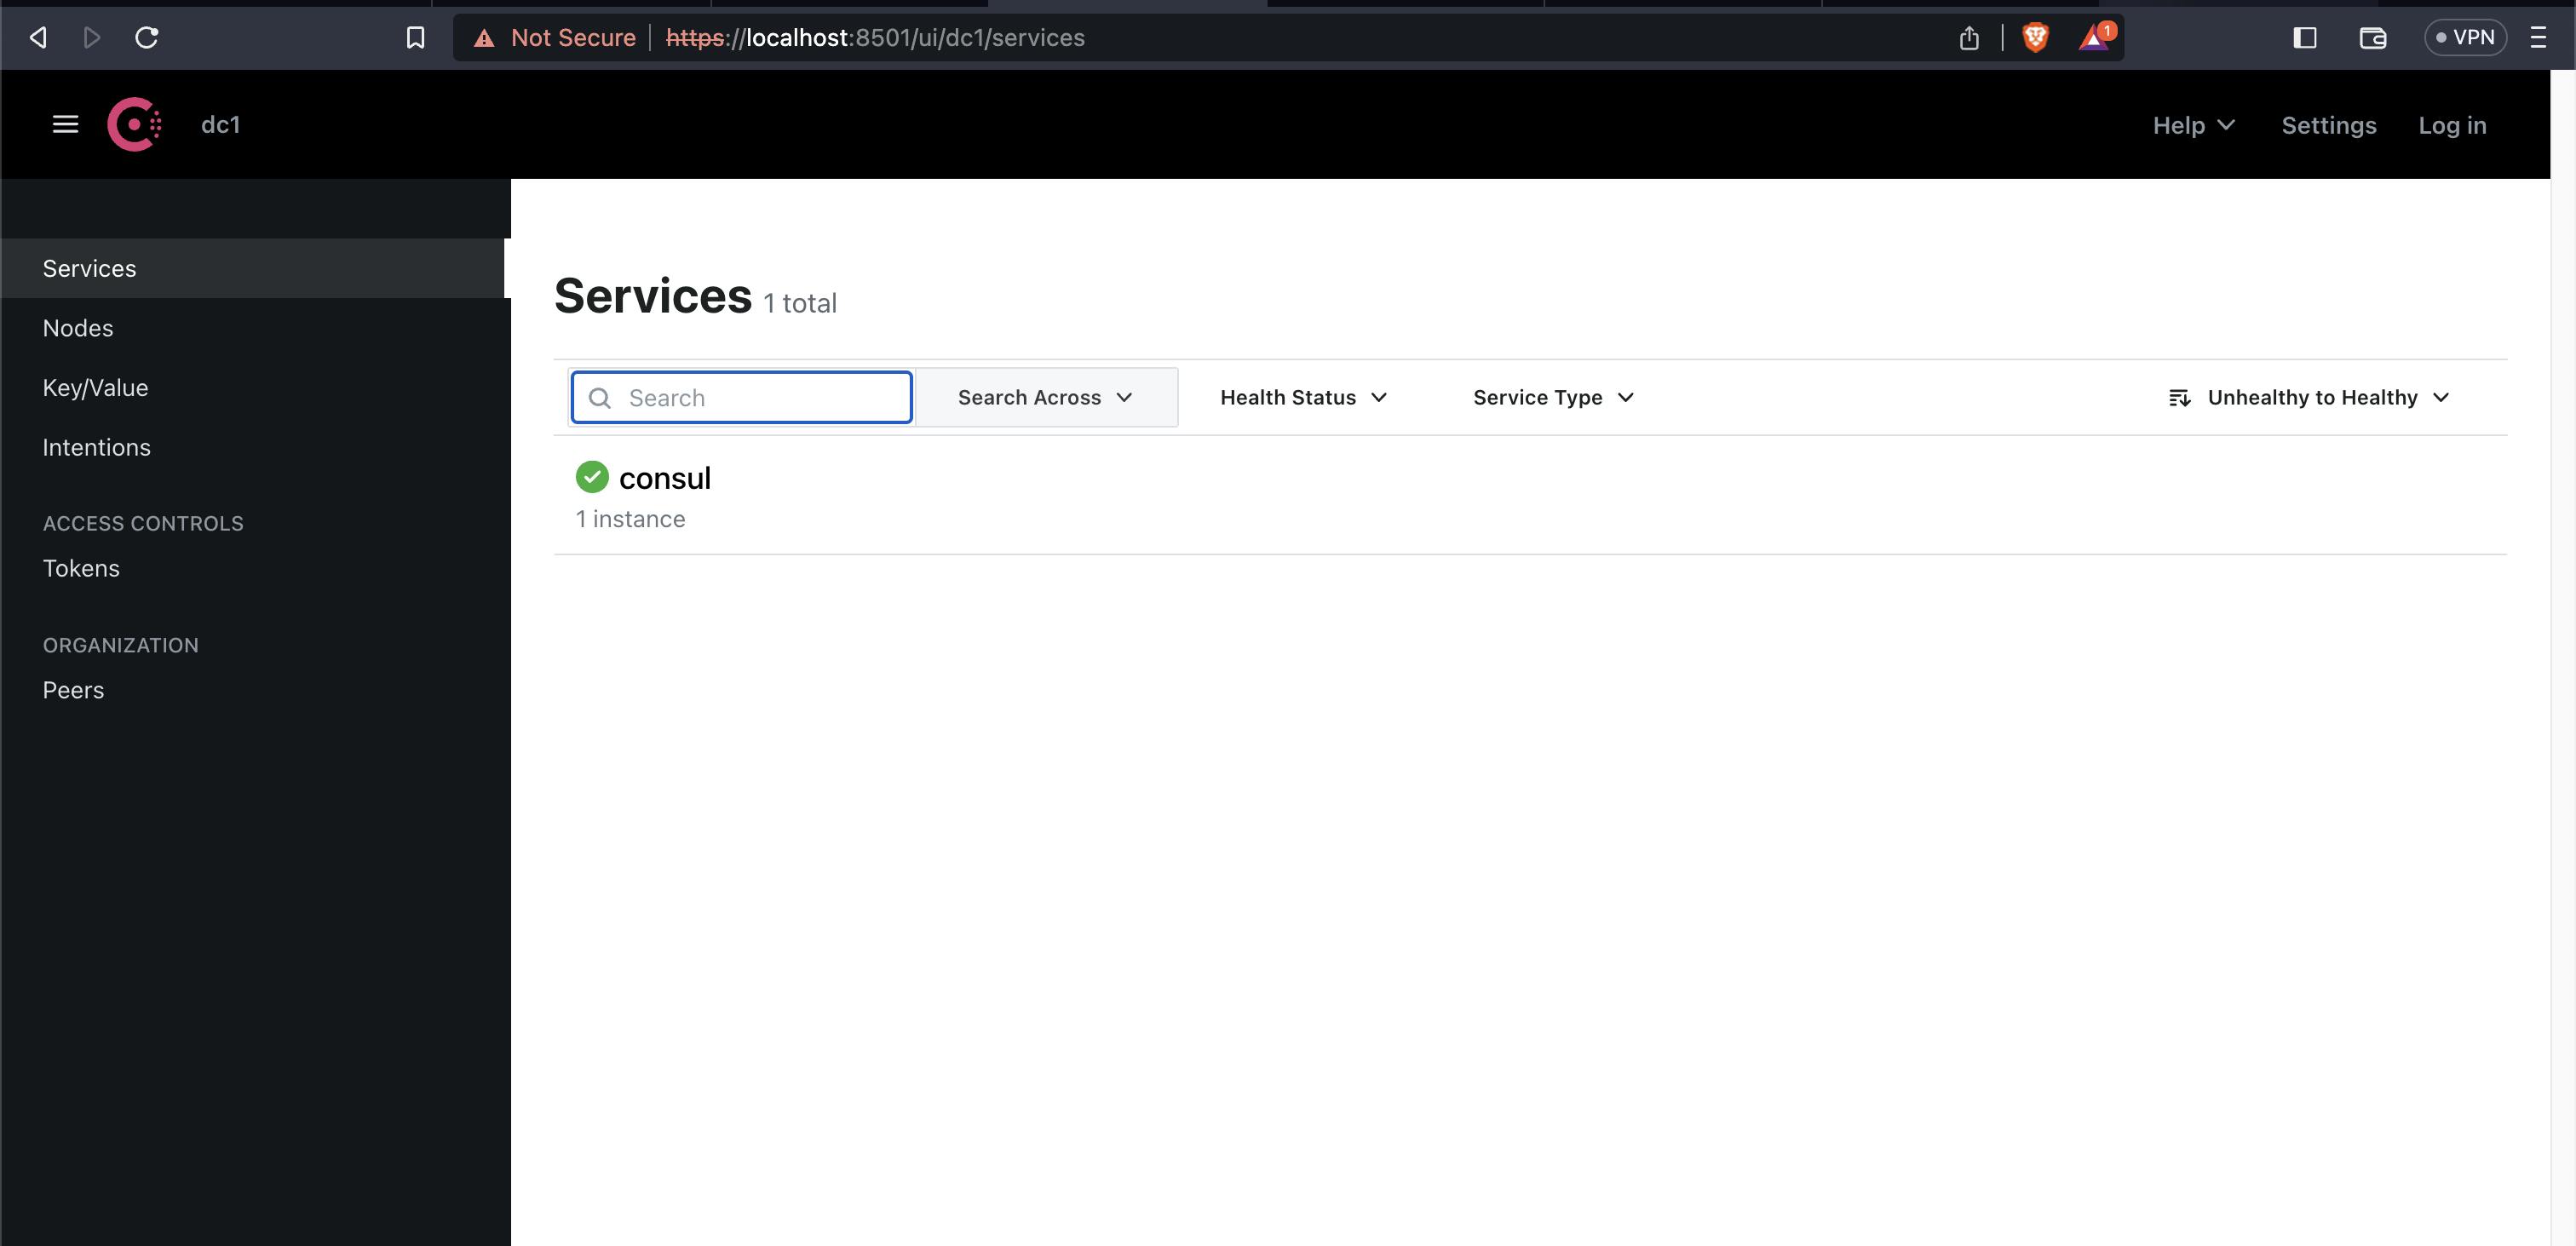
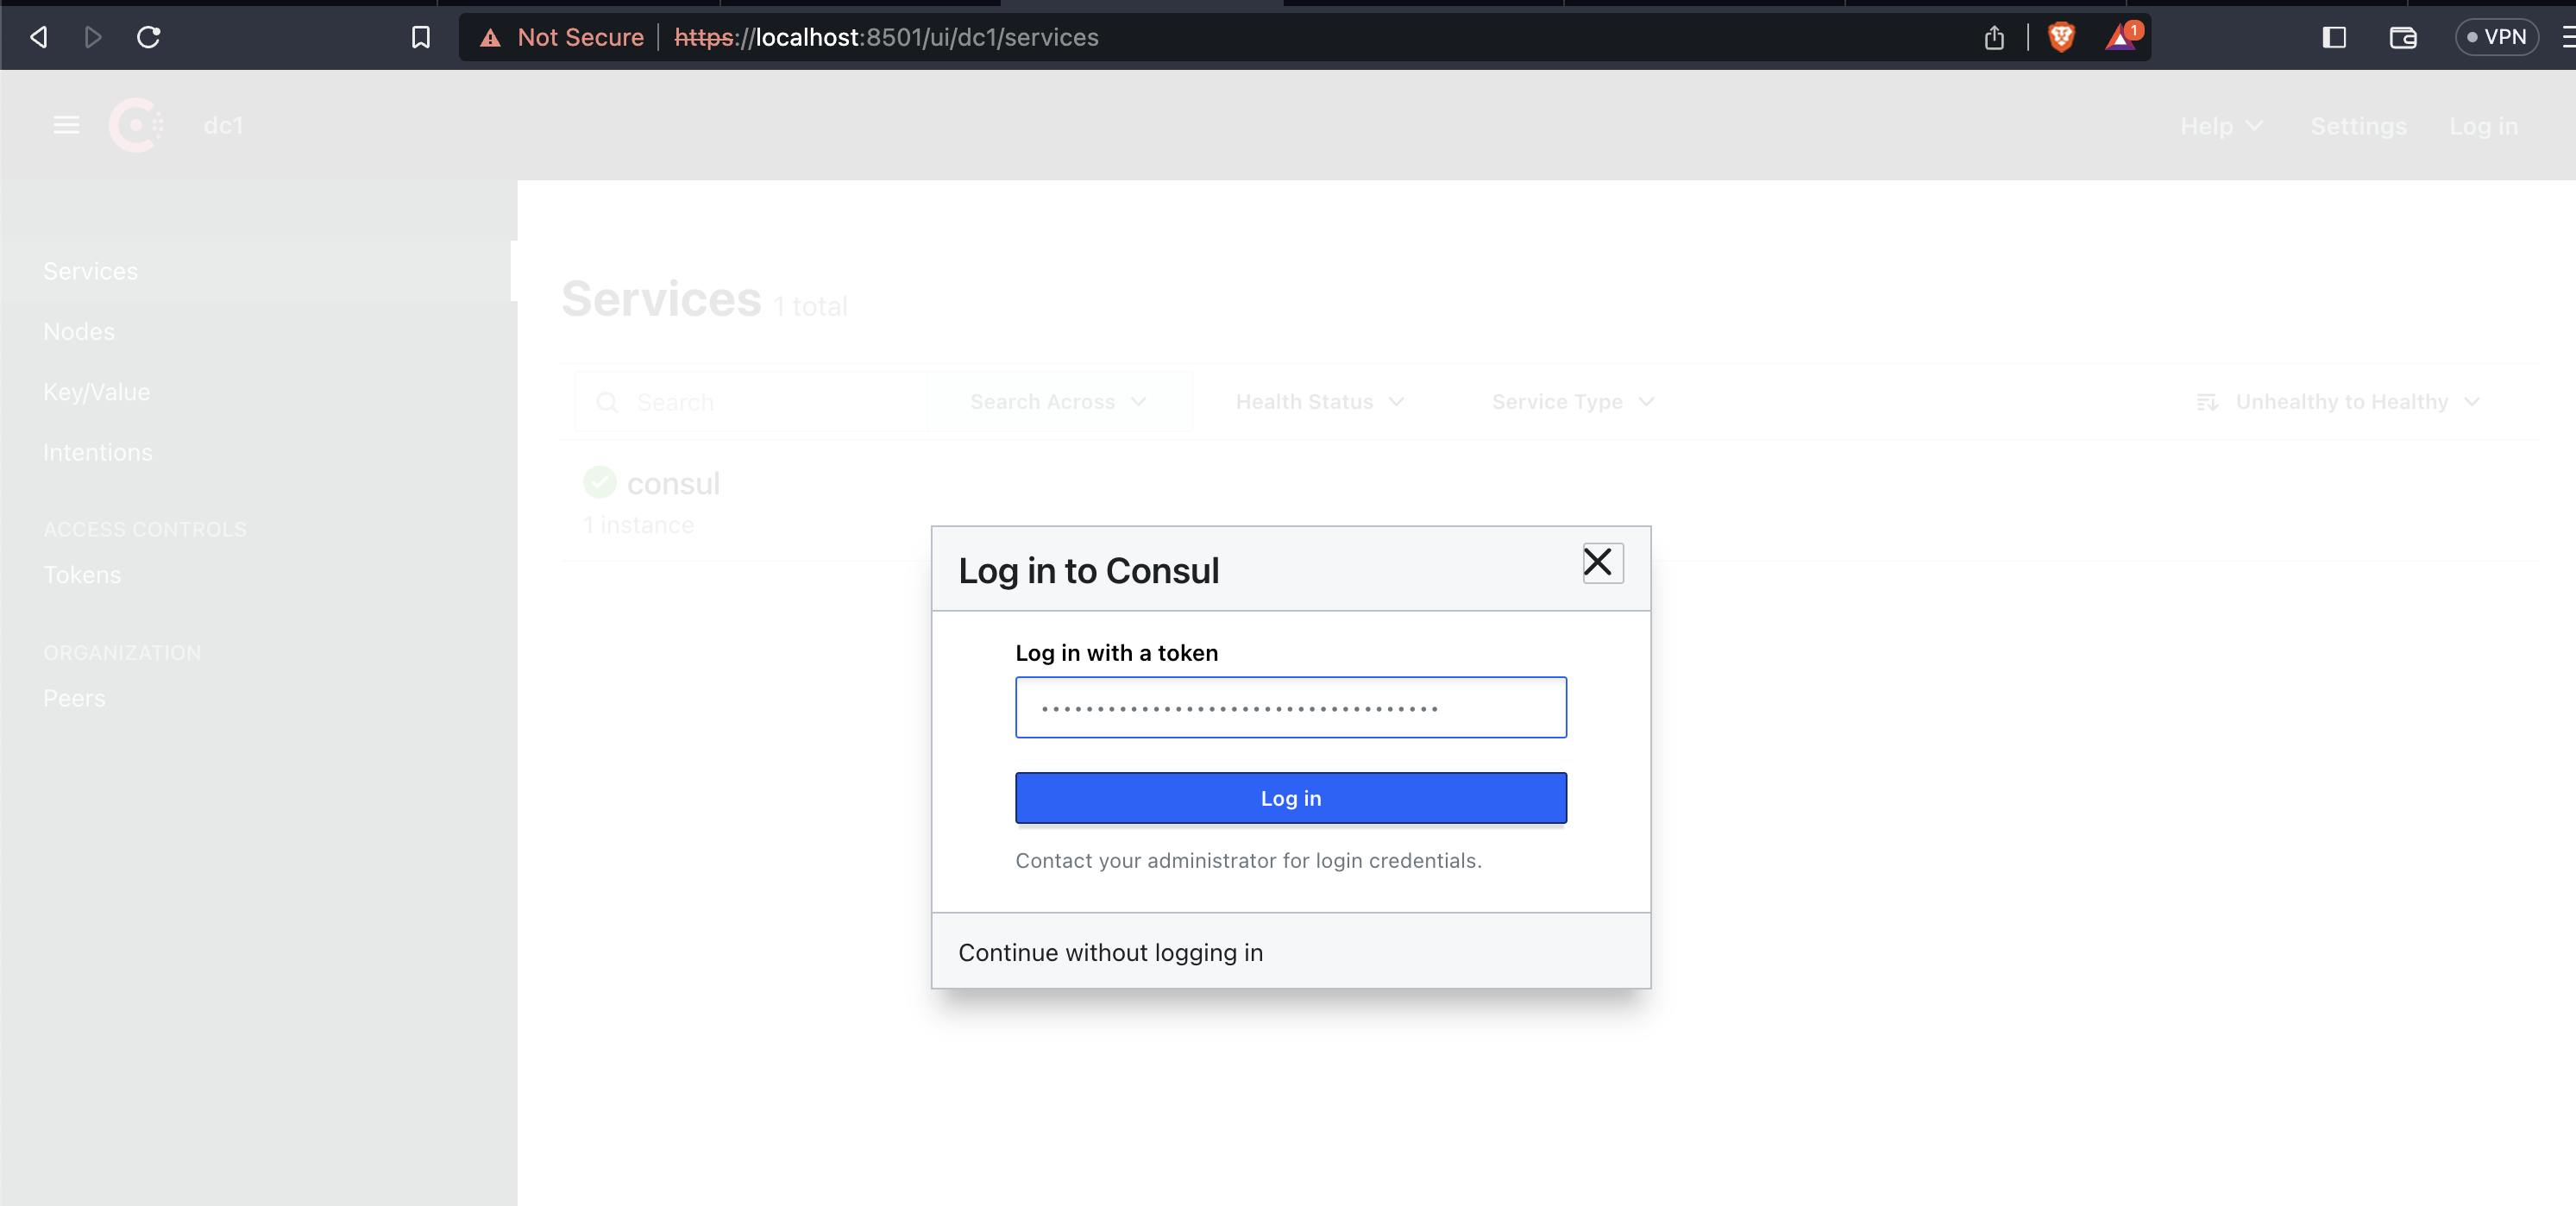
Open localhost:8501 in your browser to find the Consul UI. Since this environment uses a self-signed TLS certificate for its resources, click to proceed through the certificate warnings.
On the left navigation pane, click Services to review your deployed services. At this time, you will only find the consul service.
To make changes and see more details within the Consul UI, click Log In in the top right and insert your bootstrap ACL token. (echo $CONSUL_HTTP_TOKEN)
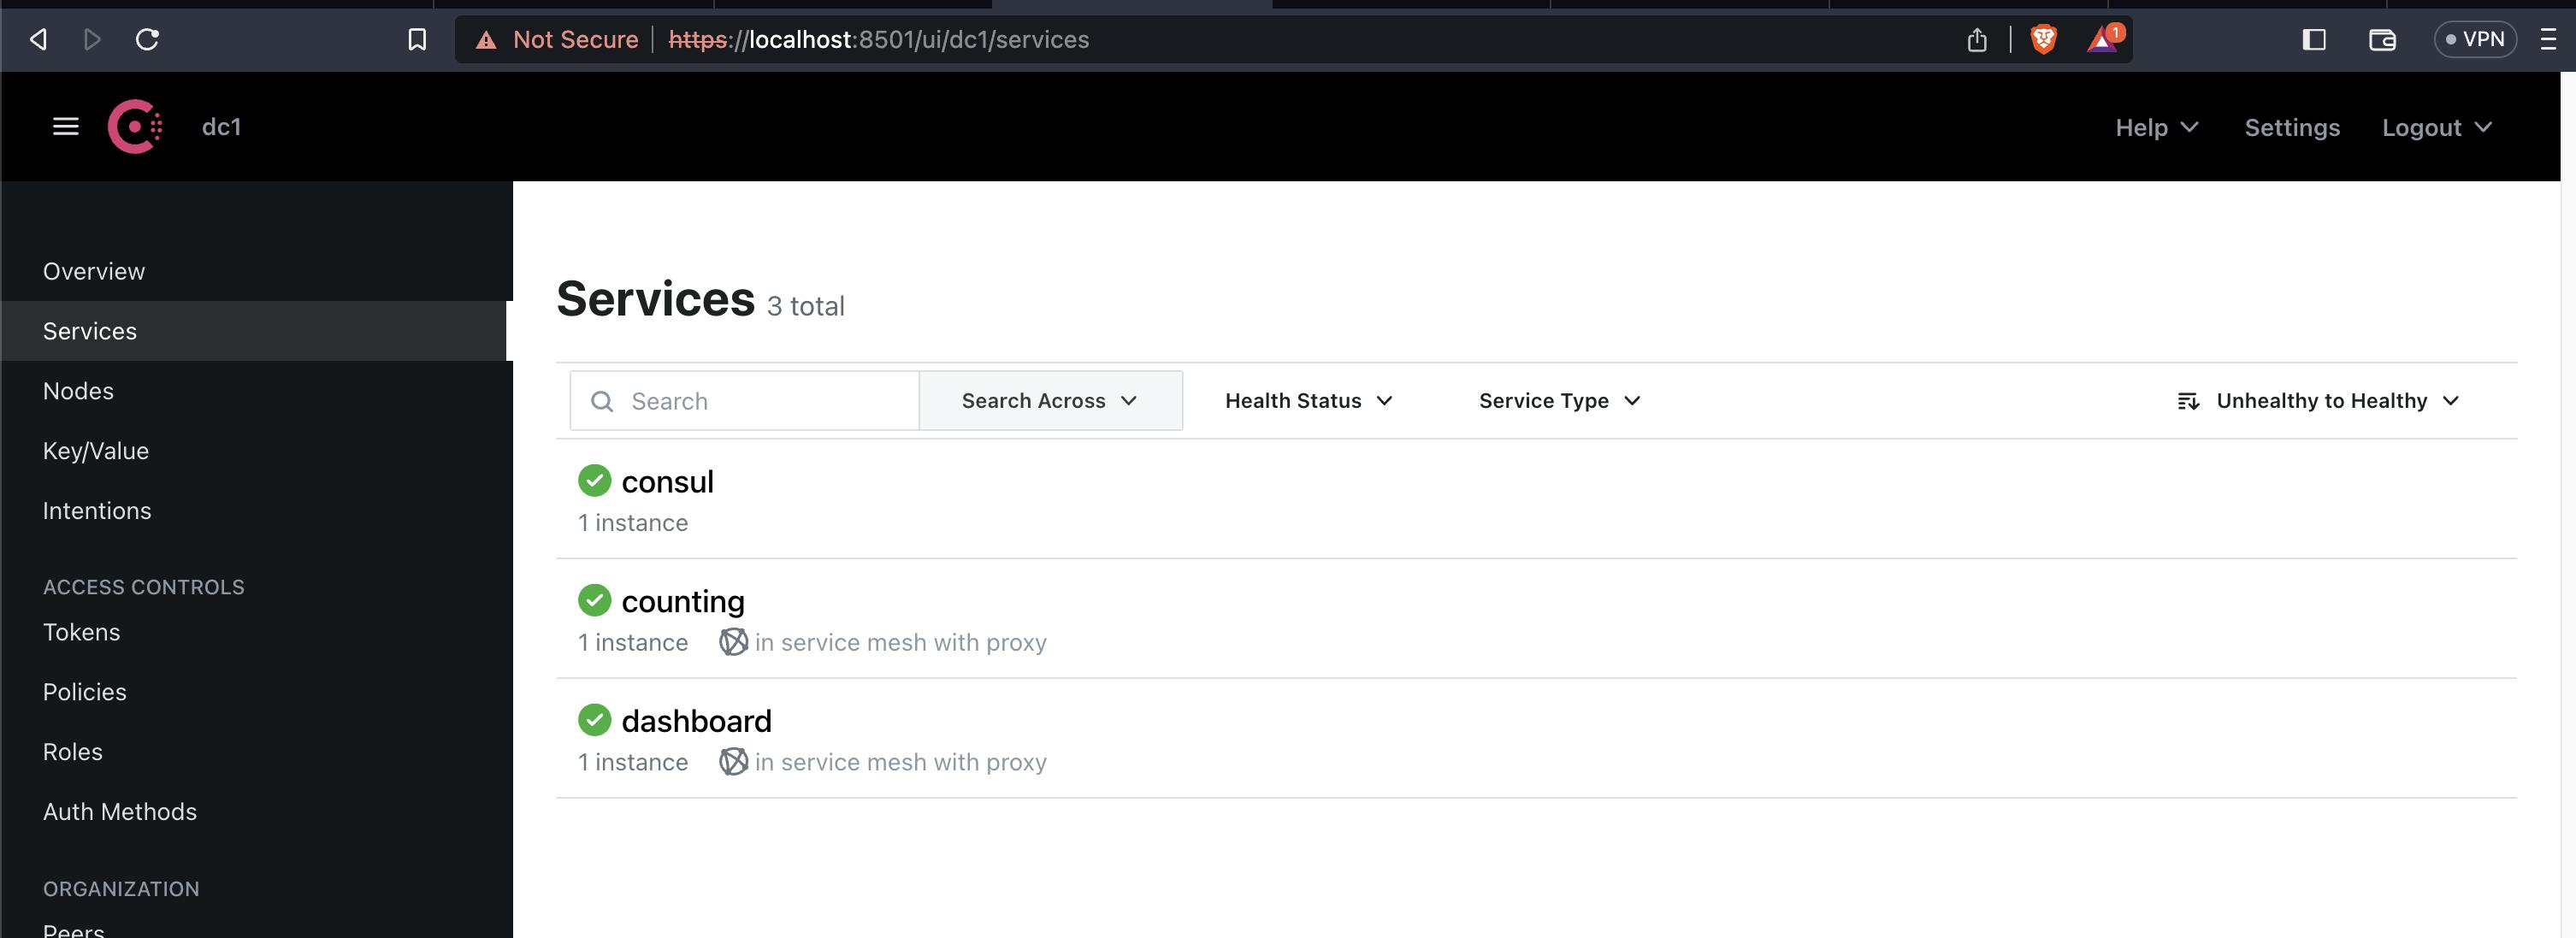
Step 6: Deploy services into your service mesh,
Lets make a two-tier application made of a backend data service that returns a number (the counting service), and a frontend dashboard that pulls from the counting service over HTTP and displays the number.
-- counting.yaml --> Create a deployment definition, service, and service account for the counting service named counting.yaml.
-- dashboard.yaml --> Create a deployment definition, service, and service account for the dashboard service named dashboard.yaml.
Use kubectl to deploy the counting and dashboard services.,
kubectl apply -f counting.yaml && kubectl apply -f dashboard.yaml

To verify the services were deployed, run kubectl get pods until you see both services are ready or refresh the Consul UI until you observe that the counting and dashboard services are running.

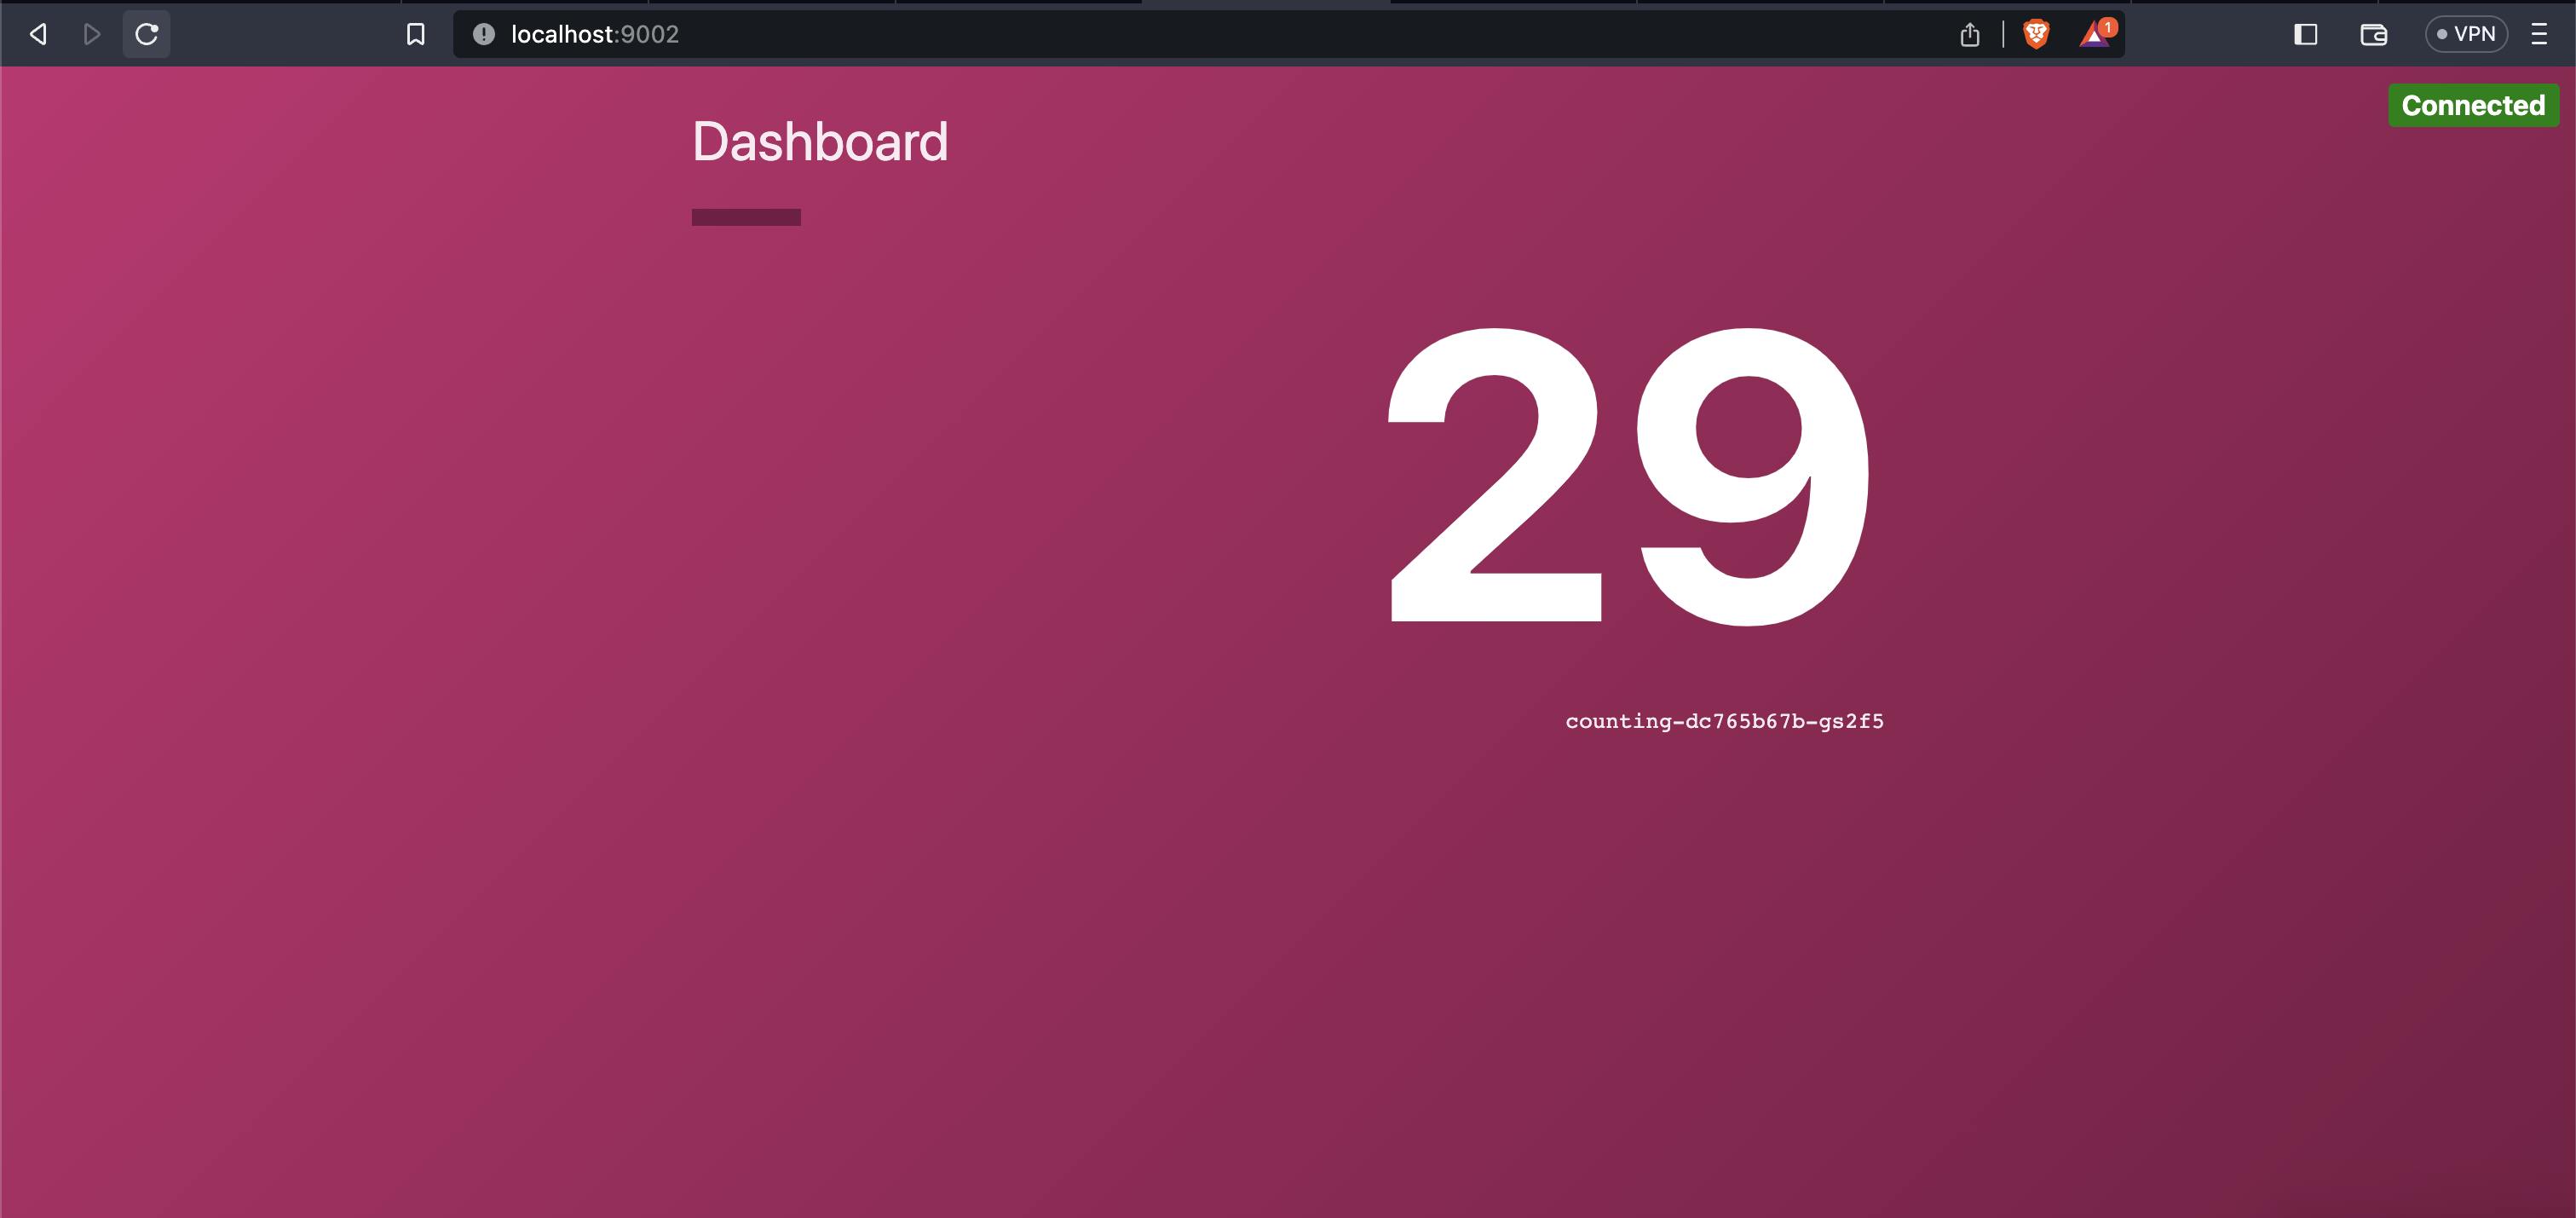
Step 7: Test the demo application,
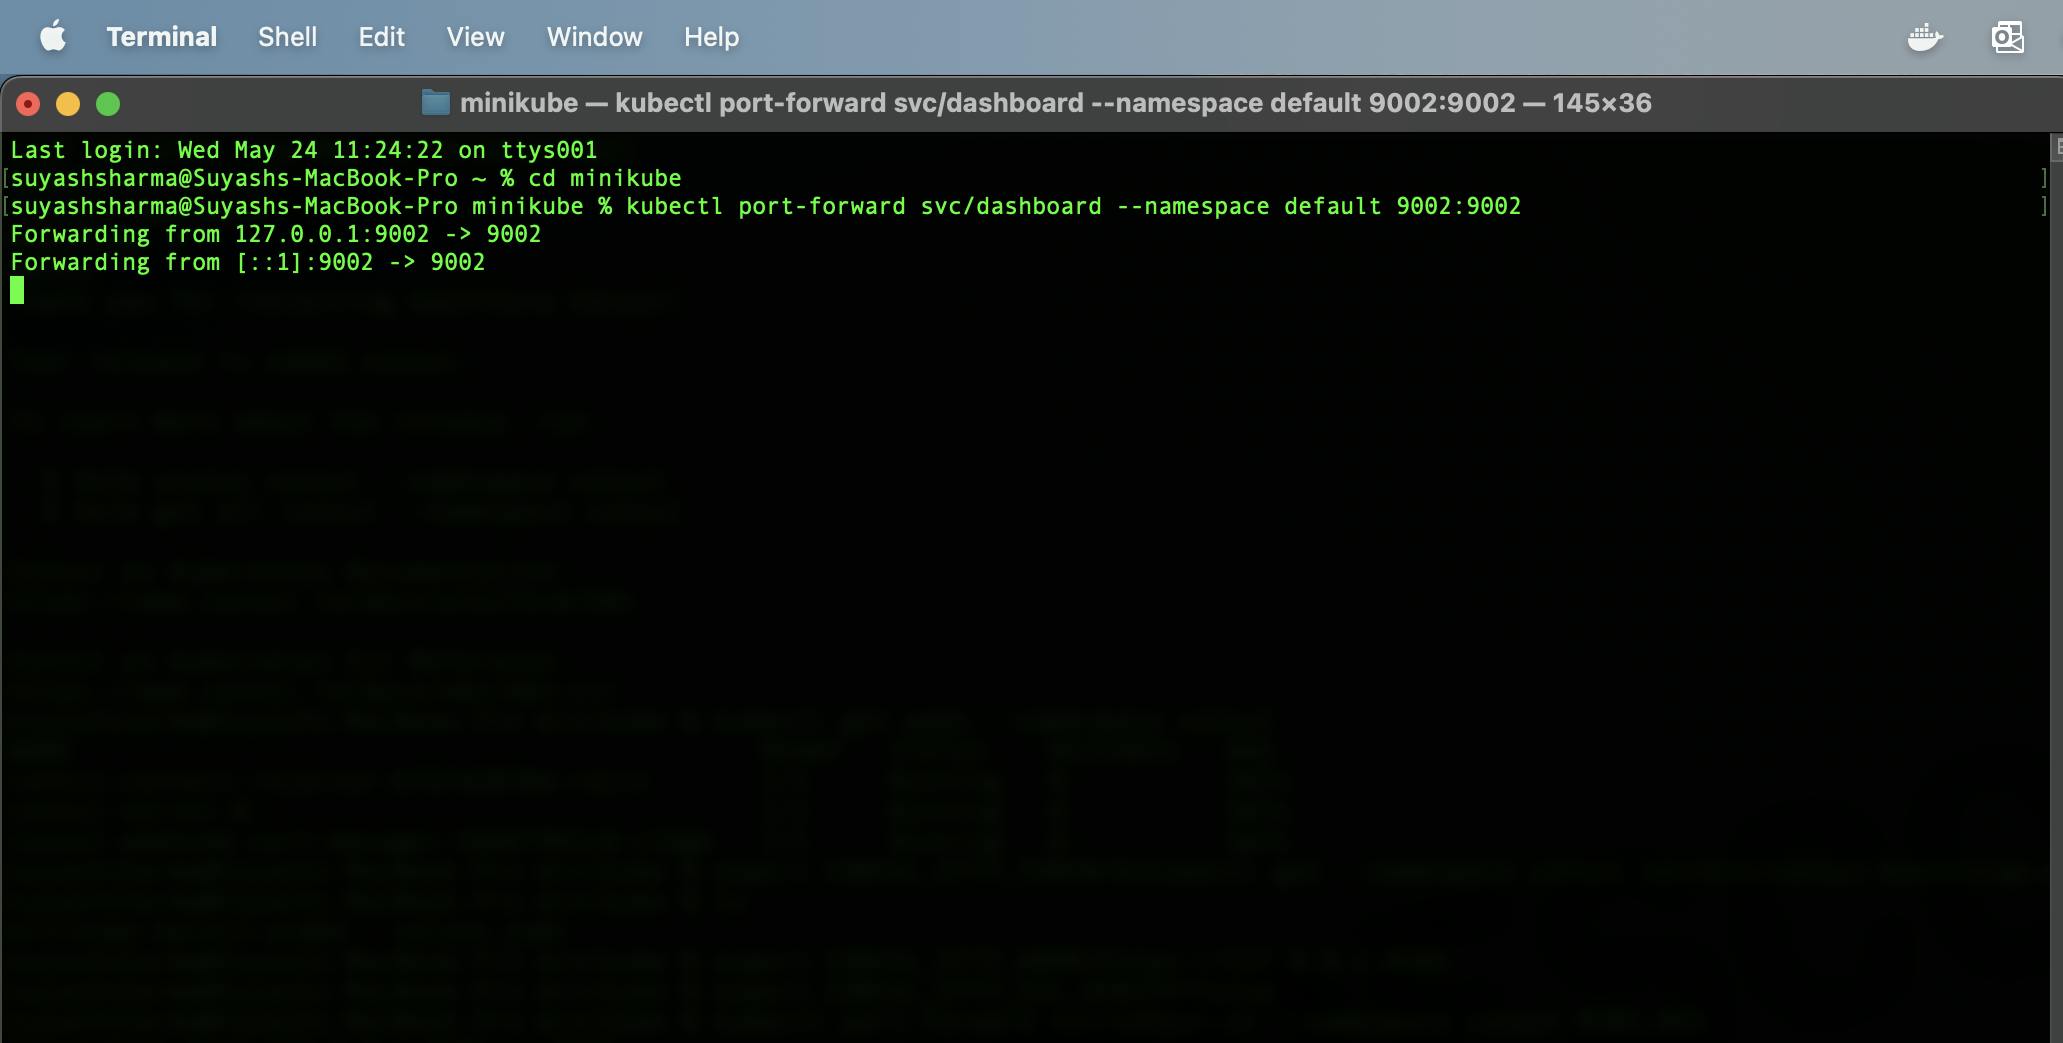
Open a separate terminal window and expose the dashboard UI with kubectl port-forward using the dashboard service name as the target,
kubectl port-forward svc/dashboard --namespace default 9002:9002
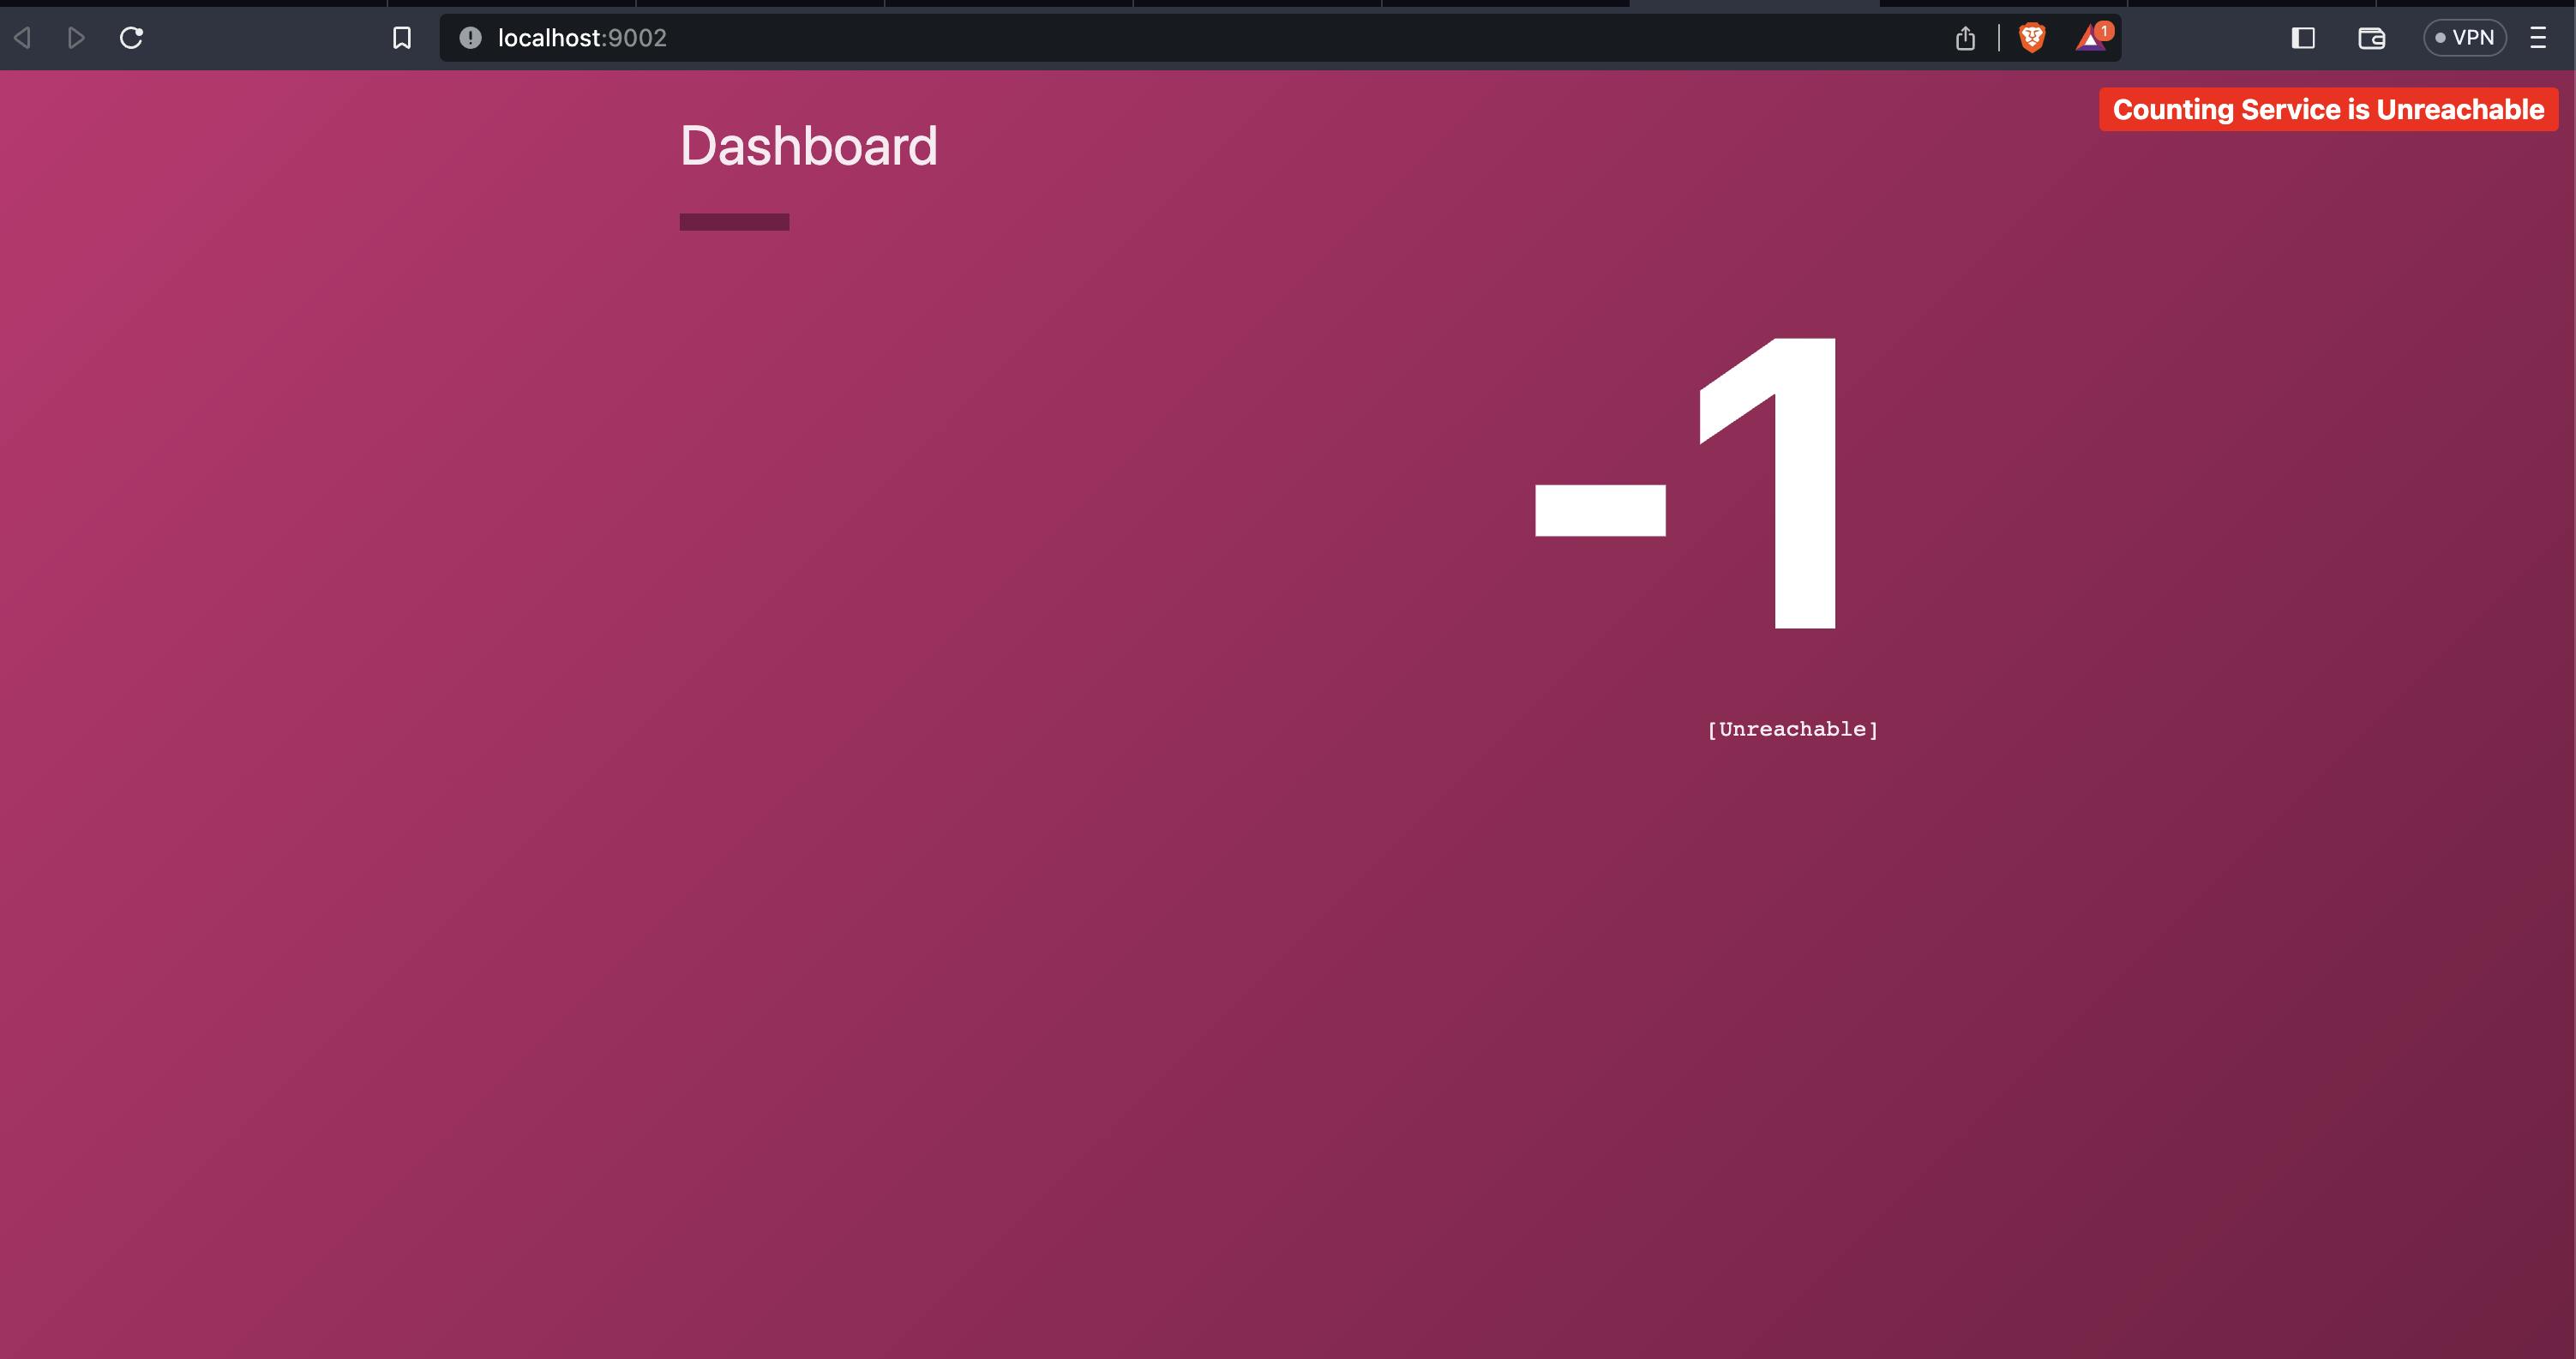
Open http://localhost:9002 in your browser. Notice that the service will display a message that the "Counting Service is Unreachable", and the count will display as "-1". This is expected behaviour as the dashboard cannot reach the counting backend since you have not defined any intentions yet.
Create a file named intentions.yaml to define intentions that allow the dashboard service to communicate with the counting service.
intentions.yaml - > https://developer.hashicorp.com/consul/tutorials/kubernetes/kubernetes-minikube#create-intentions
kubectl apply --filename intentions.yaml
kubectl port-forward svc/dashboard --namespace default 9002:9002

Step 8: Clean up the cluster
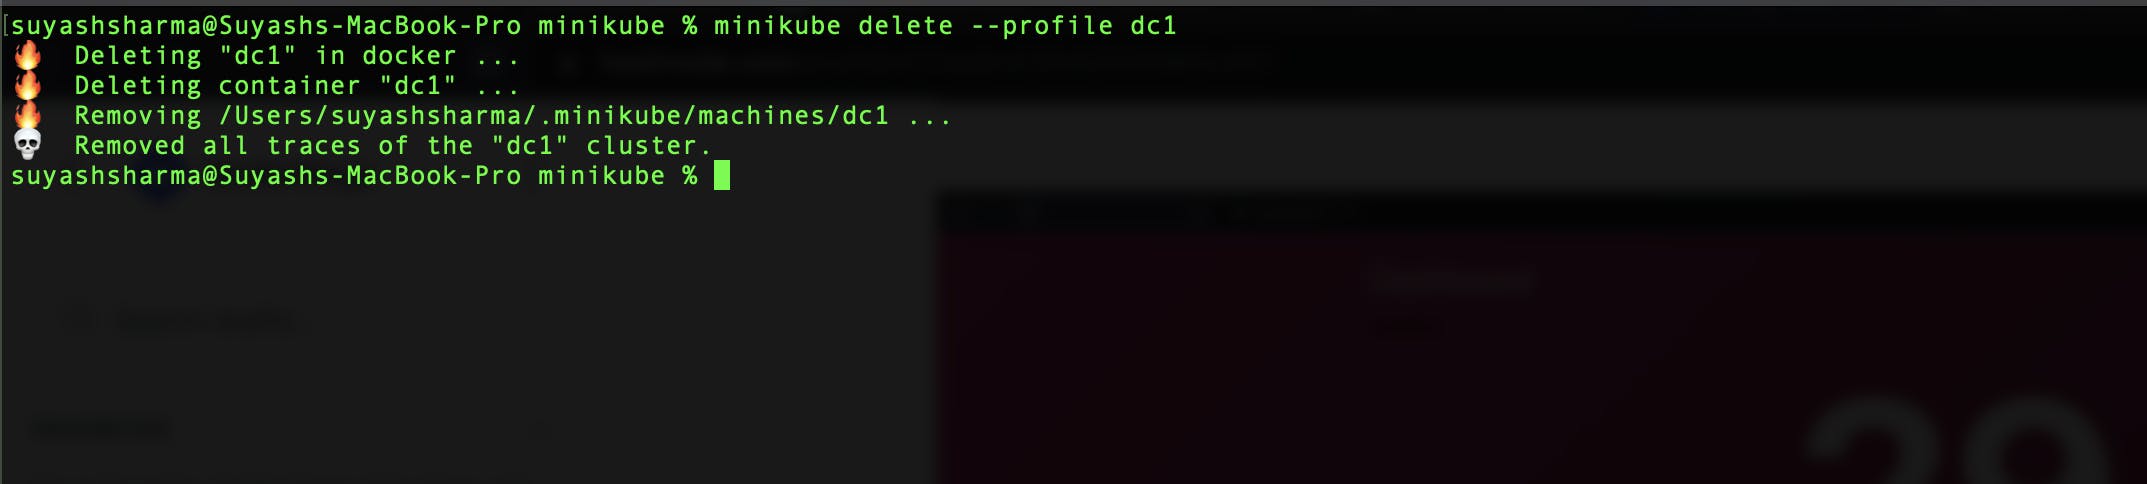
Run minikube delete to clean up your local demo environment.
minikube delete --profile dc1